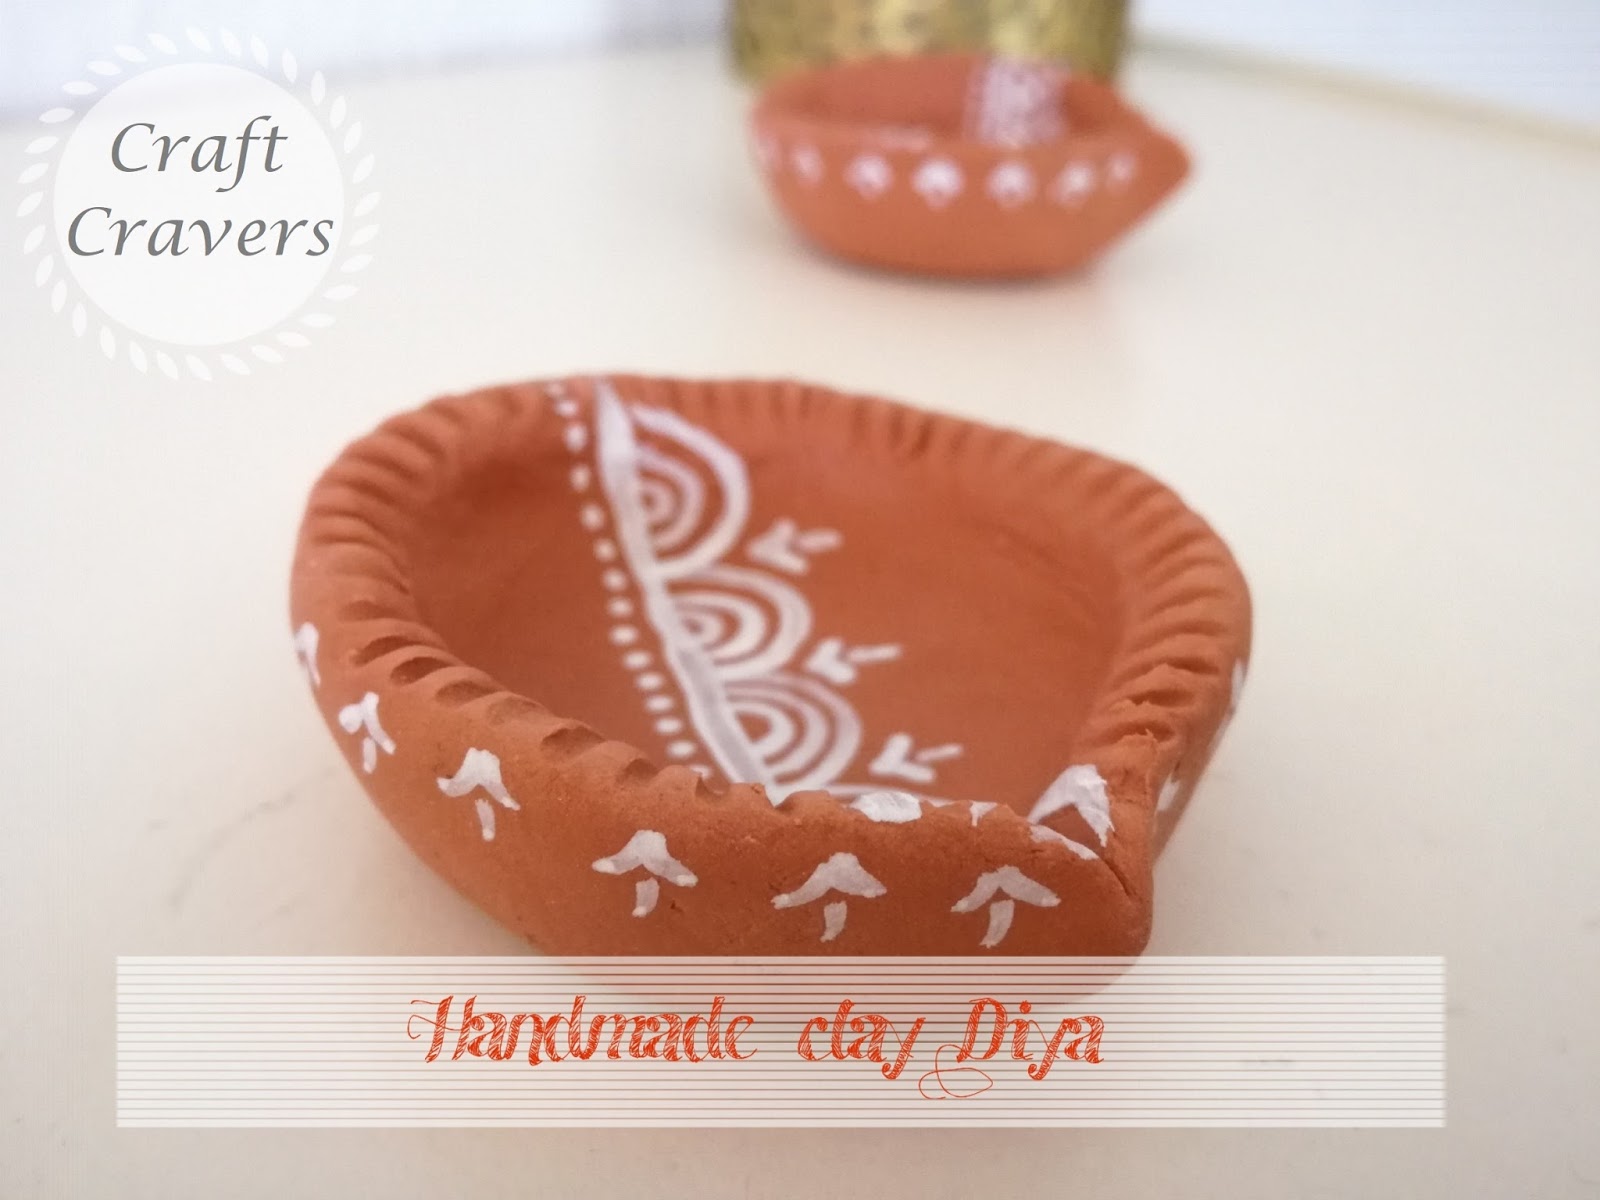
Clay Diyas

Thursday, September 28, 2017

Hello folks!

The festive season is upon us. And am very excited about my favorite festival....and you guess it right. Its DIWALI 😁. Staying away from our homeland really creates a void in our heart during festivals. Its like a silent longing for me ....missing home and family. Its not that other days there is no such feeling...its just that it peaks during festivals. This year am going to celebrate with a festive spirit, imagining how wonderful it would be to spend this time with family and recollecting all the beautiful memories. Lighting Diya was one of my favorite activities. In this blog I have shared some of my handmade clay Diyas.  I have used air dry clay both terracotta and white. Enjoy !


 I dedicate this blog to all those who are missing their home and family. Happy Diwali !! 😃

Texture Painting

Monday, September 18, 2017

Hola amigos 😃 !

Today I want to share tutorial for texture painting that I made last week.


The materials used are :
  • A primed canvas
  • Gouache paints from Talens Art Creation for background 
  • Acrylic paints 
  • Fine grain  acrylic effect paste from CREA BOX Marabu brand.
  • Palette knives 
  • Stencil
  • Painters tape


I started with a yellow, green, violet blended background. For this I used Gouache paints. They are opaque matt paints with high intensity colors. For making violet, I used Deep Rose and Cyan colors. And the rest are Deep Green and Lemon Yellow.


Once the canvas is dry, I taped the stencil onto the canvas. I used certain parts of the canvas to get the design. So I taped the rest of the stencil to avoid texture paste getting through. I used Acrylic Effect Paste from CREA BOX. It can be painted over once dry. To spread the paste I used plastic palette knives.


Similarly going further...


This is the final design.


To paint over the effect paste, I used bleeding technique. For this, I painted the petal with a little bit of water first using a brush.


Then I slightly touched the petal with color. And now the beauty of it unfolds 😍.


Similarly, painting all the petals...


I drew some outlines using black acrylic paint.


Now, I used the same bleeding technique to paint the stems and leaves. This time, I used two colors: Green and yellow.


I drew some swirls as background. I used white, yellow, green and blue colors for this. 


At few areas I used gold metallic paints and ...done !!


Sunset painting

Wednesday, August 30, 2017

Hello readers 😃!

Recently I went shopping and found a very pretty graphic greeting card. I was so mesmerized by that I could not think of anything else for few days. I could only see that card everywhere I saw #StoryOfMyLife. So I started to put it on a canvas. I drew the sketch first. 


I used acrylic paints to colour it. First started with clouds which reflect the colours of sun rays.


Now I painted the lotus flowers. I really liked the colours I mixed for them.


Next, I painted the leaves and grass. And did some purple lotus flowers.


Now, I started with the sun rays. It took a lot of time because it had lot of details.


To take some break from sun rays I switched to water in the lake.


And done. It took pretty long to paint. I spent 3 days just for sun rays. But am very satisfied with the final look. 


To give the final touch, I drew outlines of the flowers, leaves, birds using a sketch pen.


 And done! 😄


Table makeover

Sunday, August 20, 2017

Hello everyone !!

I had a plain white table from IKEA. I got bored of the plainness. So just to change the look I painted it using acrylics. Its super easy and looks great. I hope you like it :)

I started with drawing the pattern. I used a candle holder for making a pattern.


Once the pattern is drawn, I started with random colours and filled in. The palette was mostly grey, so I used colours which go with grey like salmon pink, light pink, yellow, olive green etc.


At this moment, I decided I wouldn't fill in the space between circles, so I scraped them. And I painted the rest of the area. Here is the final look.


FREE BLOGGER TEMPLATE BY DESIGNER BLOGS