Showing posts with label paper crafts. Show all posts

Quilled mandala on painted background

Thursday, March 9, 2017


Hallo, guten tag !😀

It has been a while that I did some quilling. And I have been thinking how it would look if I use a coloured background. And I absolutely love mandalas. My first work was also a mandala which can be seen  here. 


Coming back to the present project, I used a square canvas. And drew concentric circles at the center.


I painted these circles using acrylic paints.


I started at the center by making a basic tight coil. And some drop shaped pieces. 


I glued them using a clear dry glue.


Next I made an outline with a strip and for the red band, I used heart shaped pieces.


Similarly, going further ...


I added another red band and painted the remaining white space into black for better contrast.


And tadaa !! 😃


♥ on a canvas

Wednesday, April 15, 2015


This one is a really simple one, takes very less time and looks very pretty. To make this, you will need :
  • a canvas
  • red acrylic/water colors
  • a paintbrush
  • few white paper sheets
  • a pen/pencil
  • pair of scissors
As shown below, I have painted the whole canvas red. I tried to paint it uniformly so that there are no patches. In the image you can notice some but that is okay as it gets covered by the white paper roses.


The second step is to make the white paper roses. These roses are very easy and fun to make. I drew this circular swirly pattern on a piece of paper. It is preferable to draw this with a pencil and not so dark. 


Now I used scissors to cut it like this.


Now its the fun part. Take the outer edge of the swirl and wrap it around a thin stick. I used the end of my paintbrush. 


Wrap it till you reach the inner most part of the swirl.


Now carefully remove the stick on which we wrapped it.


And there you have it, a cute little white rose.


I made a lot these roses for the canvas.


Pretty, aren't they?


Now all we need to do is draw a heart shape on the canvas with pencil, again not very dark. And once you have the pattern, start pasting these flowers on it. Apply glue on the base of the flower which is the center of the swirl. Don't worry about the pencil line of the heart. The flowers will cover it up. Once the outline is done, start filling the inner area of the heart. Try to glue the flowers close enough to not show the gaps on the canvas.


And here you go :)


If you like you could write a quote or some greetings on the canvas. This is a great project for Valentine's day. And as a variation, you could keep the canvas white and paste red paper roses on it in heart shape.  

Children can make this project too. They could use  different flower shapes instead of heart. Paint the canvas pink, purple, blue etc.  Or its a great gift if they want to keep the heart shape and present it to their loved ones on mother's day, father's day or on birthdays.


Floral wreath using tissue papers

Friday, January 3, 2014

Happy new year folks. Welcoming the year 2014, I made a floral wreath using tissue papers. It is simple and easy. I bought a metal ring from Idee craft store here which costed me 90 cents. Colorful tissues add a great look to this wreath but I chose white as I was (and am) missing snow a lot this winter. In future, definitely I will try some colored tissues too. So here is how we get started.

   I took a tissue paper which is generally folded into a quarter of its size. I used one of its creases and cut through using scissors. Now I have 2 rectangular pieces of 1 tissue paper. Likewise I made a large stack. For making one flower, I used 5 such rectangles. More you use, more fluffy the flower becomes. But using too many is also not good as it makes folding difficult. So, after stacking 5 rectangular pieces together, I made a valley and then a mountain (these terms are given to these folds in origami, you can look it up in google) . When you hold it on the side, you will be able to see a zigzag pattern. After folding the tissue stack, finally you will end up with a thick strip of paper. Now to add some look, I trimmed the edges into semicircular shape. I placed the ring on the table and I placed the folded tissue stack on it and tied it to the ring.  


Now that the tissue stack is secure, I gradually lifted up one layer of the tissue paper. Slowly repeating this on either side of the thread until the very last layer, gives a full bloomed floral look. 


Now, one flower is completed. To cover the rest of the circumference of the ring, I repeated all the above steps.


For this wreath, I made seven flowers. The number of flowers needed depends on how big the metal ring is and on the length of the tissue strips. If the length is less, one has to make more flowers to cover the ring. 

To make the flower stay in proper position, I glued the thread to the ring and later pasted the tape behind the flower. This helps in keeping the flower face us.


Here is the final look. Hope you like it :)


more tissue flowers

Wednesday, November 27, 2013

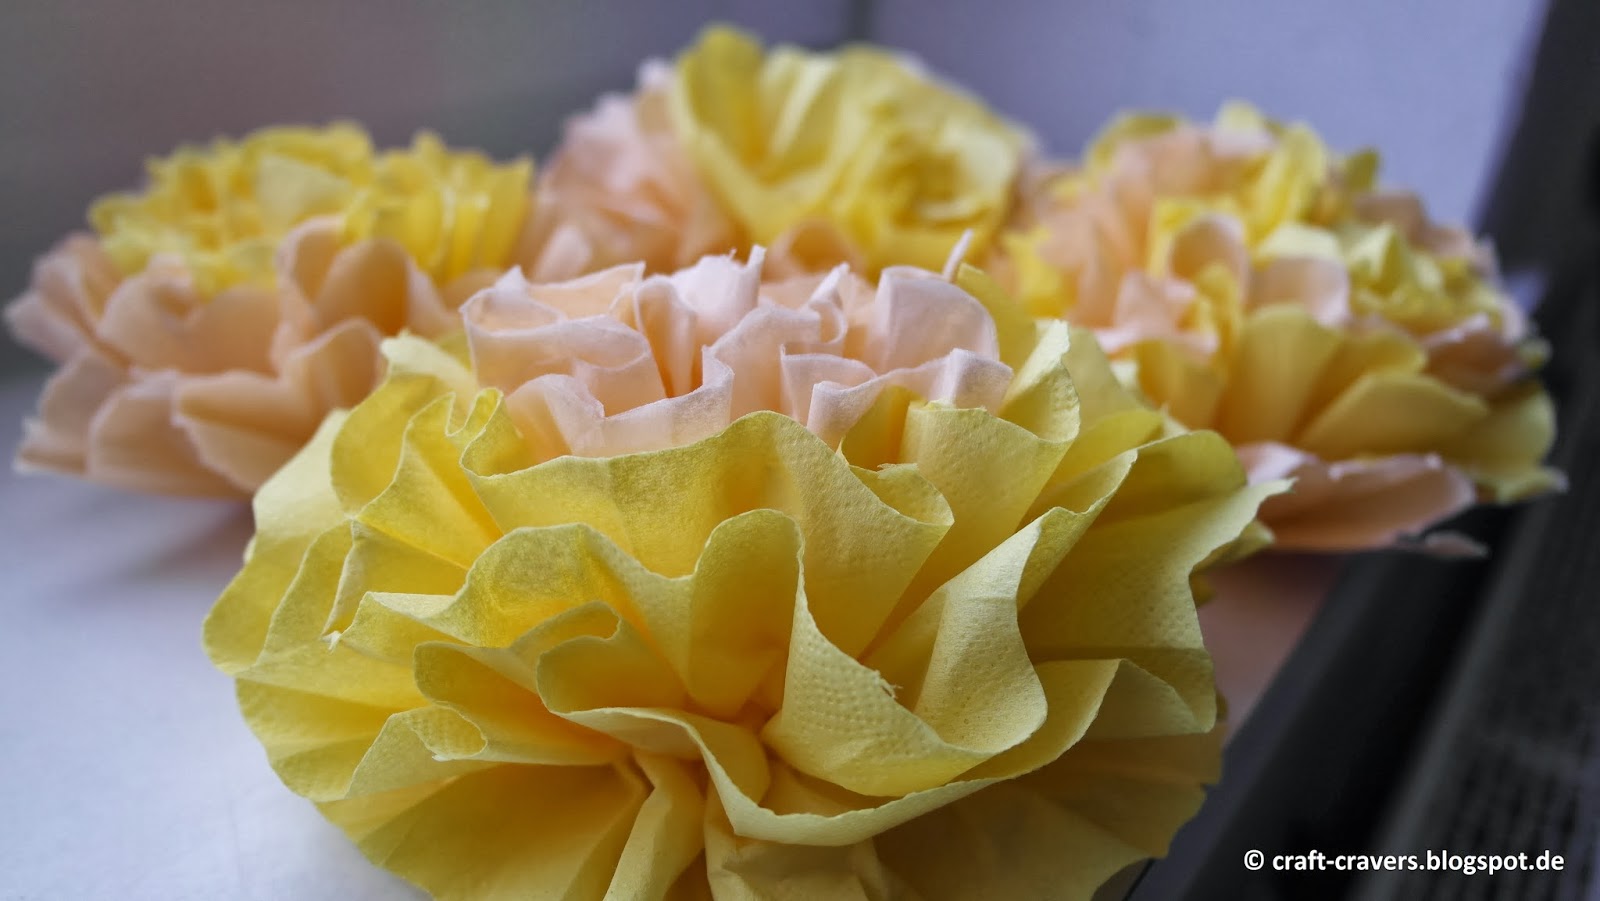
Some more tissue paper flowers that I made recently. They lit up the gloomy winter day for me :)


Origami art

Monday, November 18, 2013

Origami was also introduced to us in our SUPW class. Project which I made looks like the photo below. Each of the sqaures are separate pieces of paper that I folded. I was going for some other form but I was satisfied with this one. After folding all these pieces, I put them together on a chart paper and glued them. And the same with the butterfly.


quilled paper art

Paper quilling is one of my favorites. Just by using paper strips, one can transform them into an amazing looking art. The are very easy to make and look very pretty when put together. Quilling reminds me of my school days. We had a course called SUPW which means Socially Useful Project Work. One of our teachers for this course had taught us the quilling technique. That was may be when I was in 7th or 8th standard. Only after so many years I remembered the fun that we had while quilling and did a project.


There are lot of videos available on YouTube for quilling tutorials. Lot of websites also demonstrate this awesome art. I made it using white paper. They look really cool when colored papers are used. I look forward to making one in future.


While doing this project I had a great time walking down the memory lane. Great times.


Tissue paper flowers

Wednesday, November 6, 2013

I made these long ago. There are two kinds of them. The first kind can be made using instructions from
http://spoonful.com/crafts/tissue-paper-flowers
I tried different looks for these flowers. The orange flower had the edges trimmed to get a look of carnation. The yellow is not trimmed at all.


For making the second kind, I took the tissues. I laid them on a table. And I placed a circular ring on it to draw a circle. For this I used the tape roll. Then I cut the circles. From 1 tissue paper I got four circles because I didn't open the tissue paper. I used it in its normal form with four folds. By repeating this on several tissue papers, I got a lot of circles.
      Now, I took one circle and pinched it at the center holding the pinched part down. Then I took another circle pinched at the center and placed it next to the first one. They are held at the center which faces down and the edges of the circle are kind of folded and very close to each other. I repeated this process for about 15 to 20 circles holding the pinched parts all the time (It can be more depending on your choice), never letting them go. This way of arrangement slowly shapes up like petals. At the end, I used a tape and wrapped it around the pinched part that I have been holding since the beginning. I wrapped really tight and made sure that the circles were not coming off the flower. I made several flowers in the same way. Here's the finished look.


FREE BLOGGER TEMPLATE BY DESIGNER BLOGS