Hey!!
This post is dedicated to a cute lil girl who turned 5 recently. And I made her this birthday card. So before we start, I would like to tell you that I used quilling techniques to make it.
Things needed:
- Thick papers for making cards.
- Colorful paper strips for quilling
- Glue
- Quilling tool or a toothpick
- Sketches
So lets get started.
I bought these paper strips for quilling, which are available in most craft stores I believe. If one does not find them, you can make your own by making strips out of colored papers. It demands lot of patience though. Using these, I made a simple S shaped scroll. Its quite simple. We have to quill both the ends of the paper strip in opposite direction. You can google it for help.
Once done, I pasted these colorful scrolls on a rectangular thick paper which has been cut into a frame like structure. There is no specific pattern here. I just filled up the white space. I chose to only fill two sides of the frame. But if you like you can go all the way. Its one's choice.
They look pretty, don't they?
If there is excess of white space left which cannot be filled with a scroll, you can fill it with a simple circle, like the blue one am pointing at. Just coil the paper strip and leave it, let it uncoil and then you can glue the end to secure it.
And then, I made this cute flower using two colored strips yellow and orange joined at the ends. Each petal is an individual drop. Glued them to the green circled coil at the center. And later pasted the flower on a black paper and trimmed the edges.
This is where I positioned the flower on the frame.
Now I needed some colorful simple butterflies. So used these triangular pieces from my past crafts. I drew a simple butterfly on them and cut them out. And used a marker to give them an outline.
Now I placed these cute butterflies on the frame and glued them. Most of them seem like they are flying towards the flower.
Now I needed a patterned paper for filling up the hollow frame. I first chose to make waves using highlighters. But later changed my mind. As it seemed too much color contrast.
I had cut out another rectangle from the left out thick paper for placing it in the center. Once you have decided the right position to place it, go ahead and glue it.
Notice the background is changed.
Now for the best part, I made some paper roses to go for the center. And colored them using sketches and highlighters. The tutorial for this is at :
We are almost done...
For the inside of the card, I made these circles and pasted them. This is where I wrote the birthday message. And pasted some left out butterflies there.
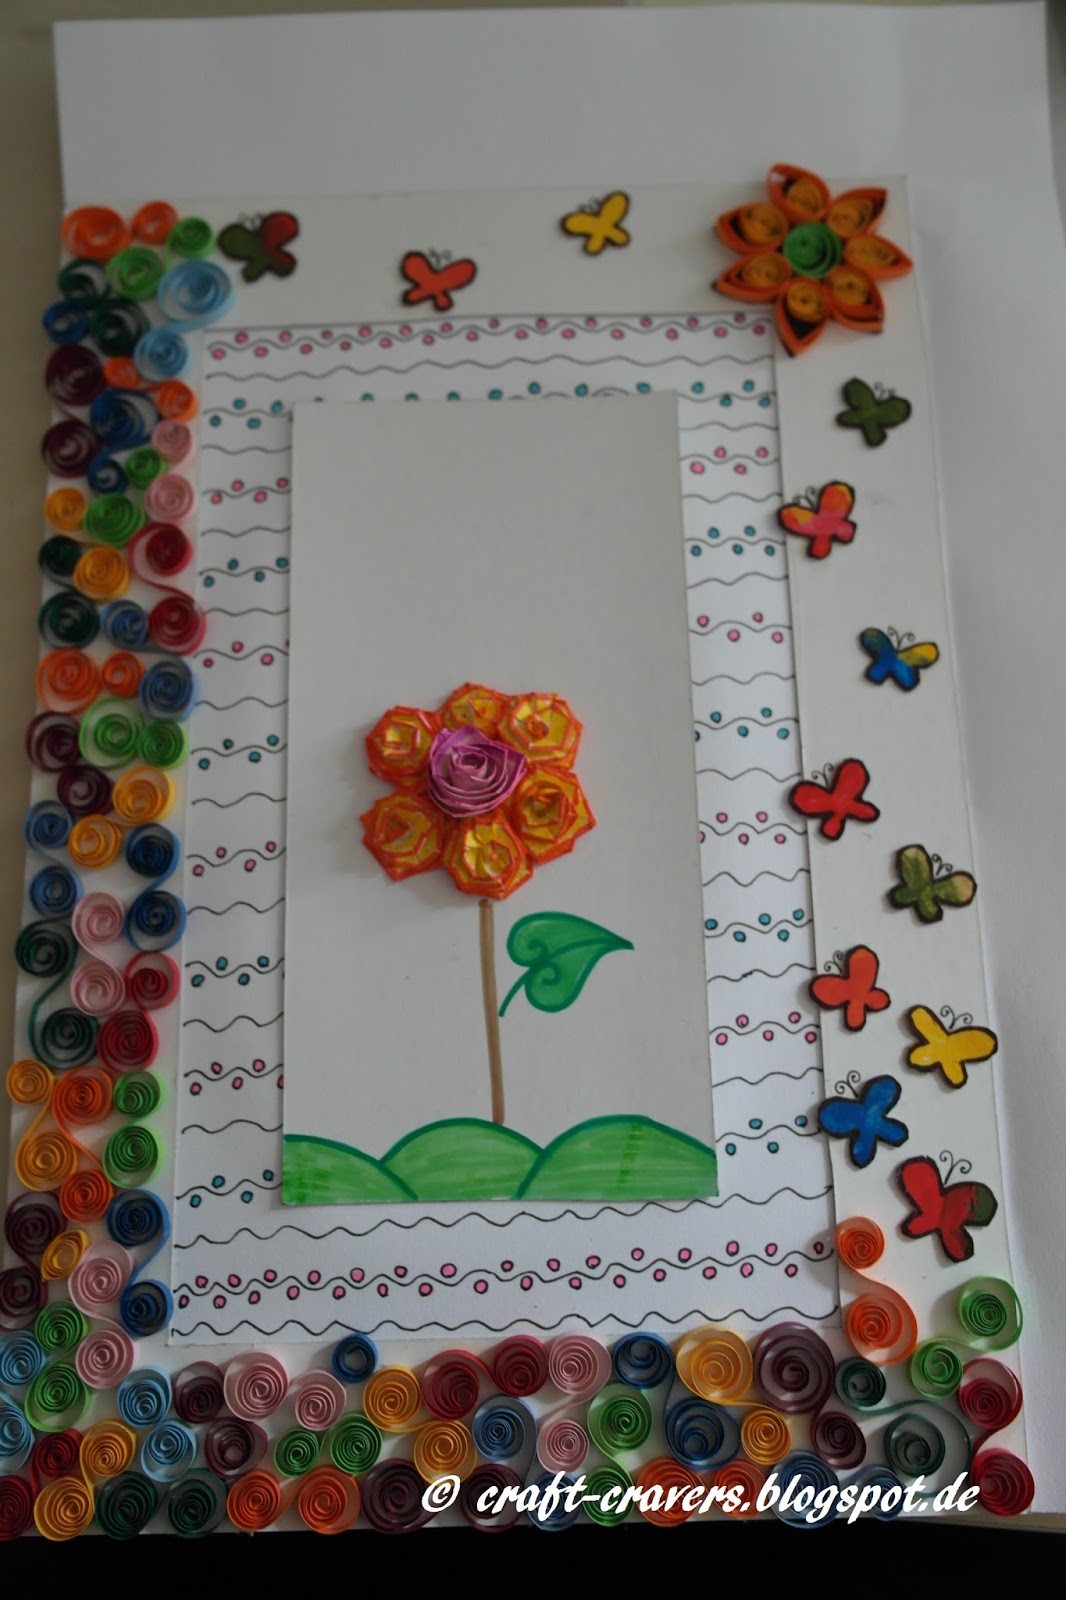
And now the card is done. This is the final look:
I was thrilled to know that the birthday girl loved it. It gives true happiness to put a smile on a kids face.
I wish that sweet girl all the happiness in the world. Happy birthday :) !!




 Posts
Posts


