Showing posts with label modeling clay. Show all posts

Tea light holders

Tuesday, October 24, 2017

Hey folks!

Am obsessed with candles and tealight holders. Although I have plenty at home, I still felt like making some 😊. For all those "candle cravers"...see what I did 😉😄, here are some more ideas to customize your tealight holders and light up your home. They are great for party favours too because they are cute and handmade.

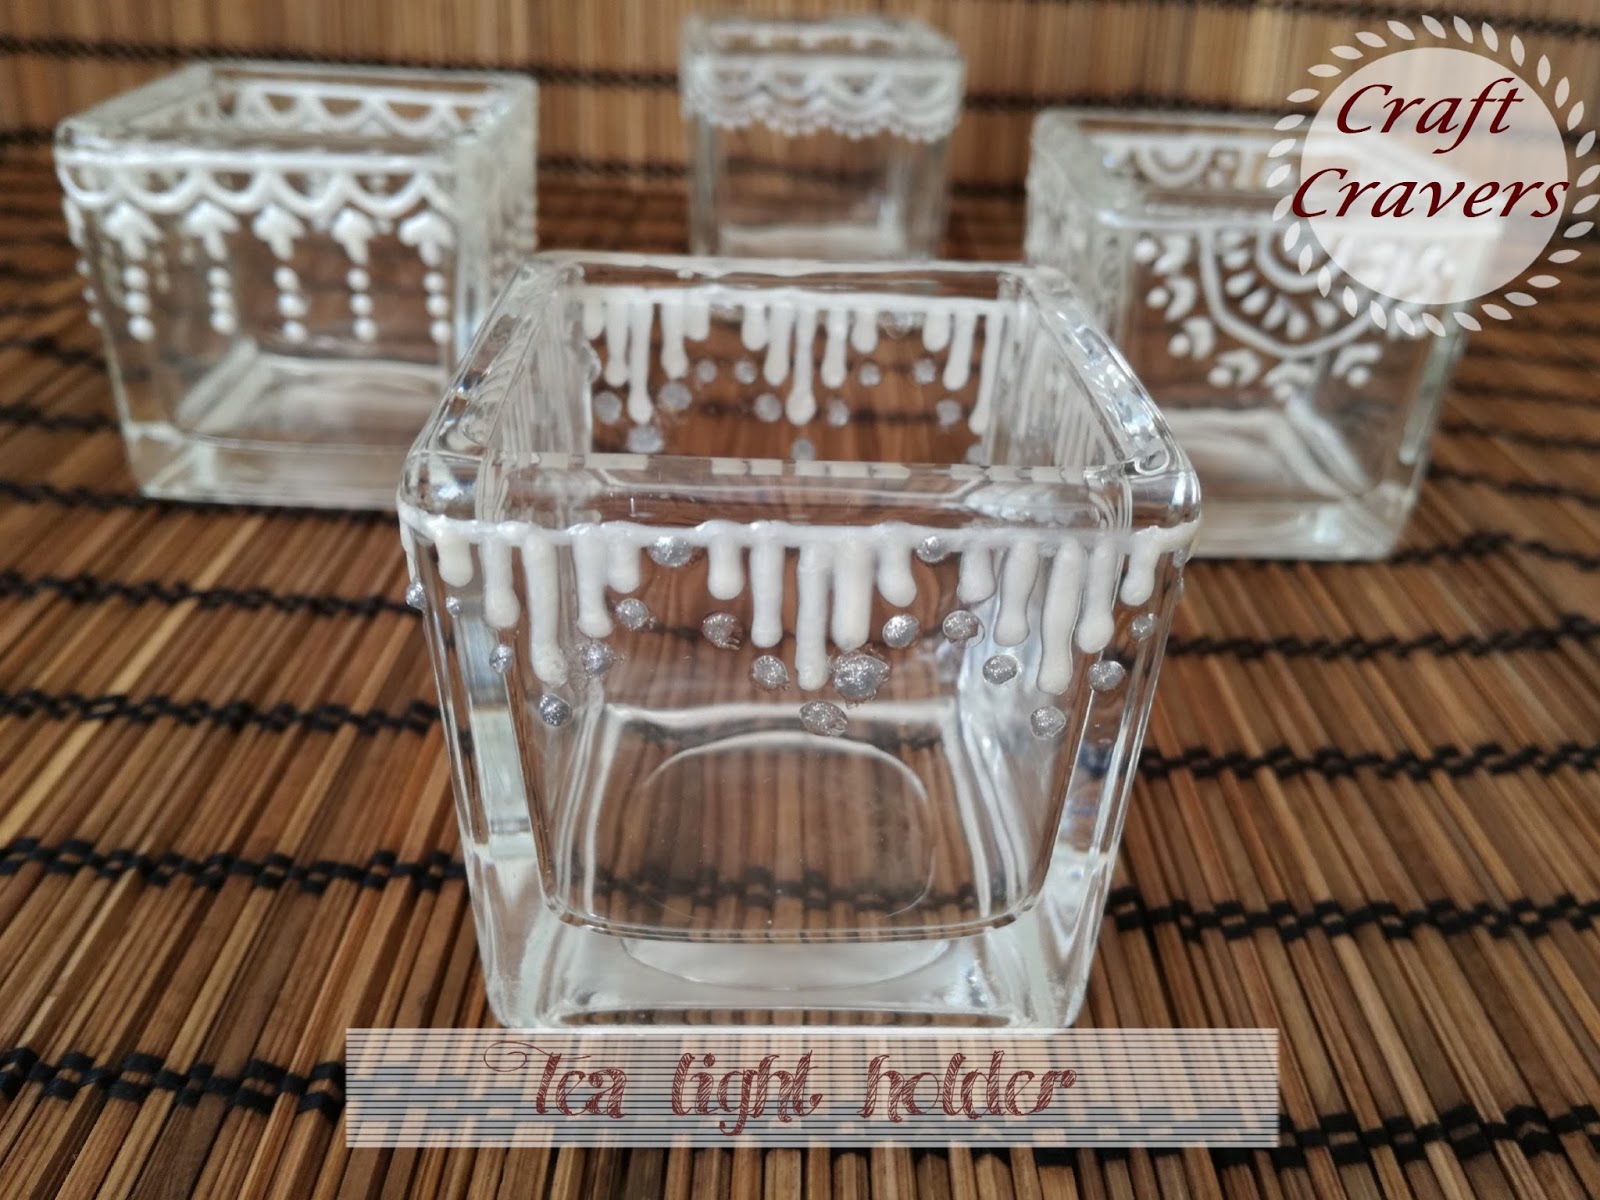
I bought these square shaped glass holders and drew on them using 3D paint. I used pearl colour for this.


In the second holder I just experimented with silver 3D paint.


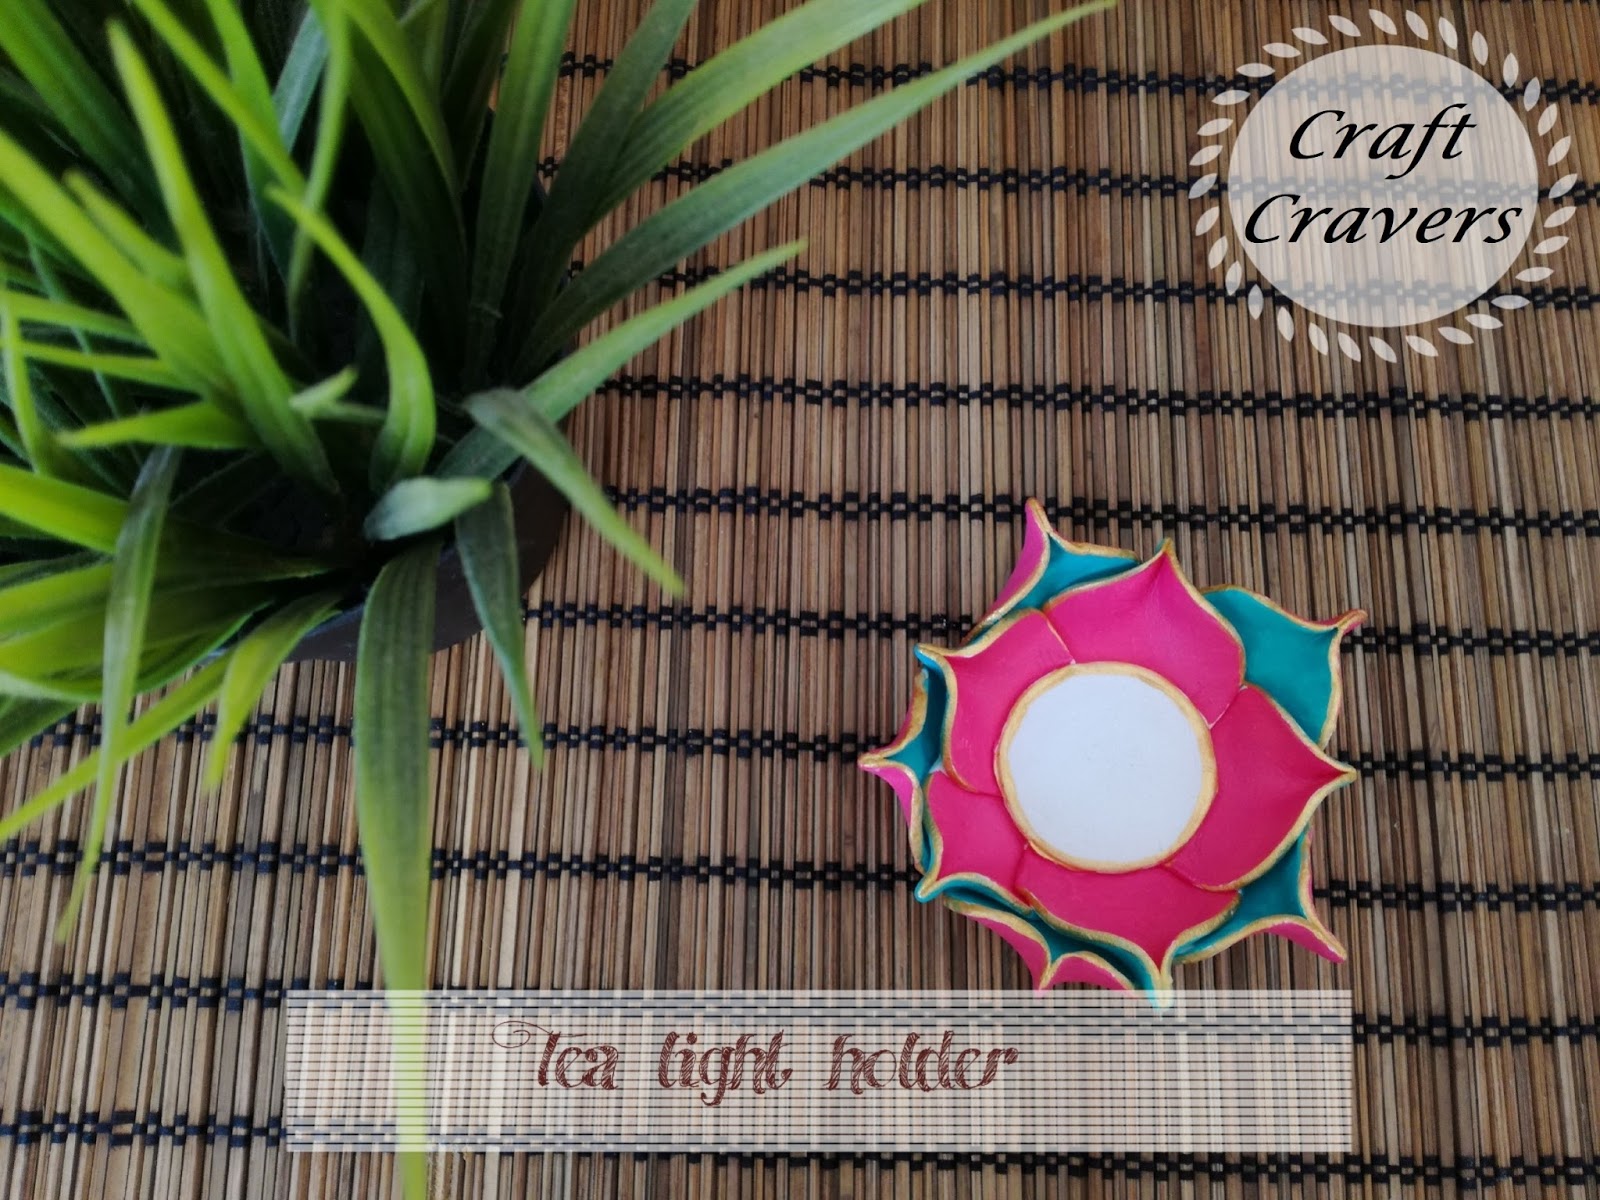
Now I will share with you the clay floral tealight holders. I used air dry clay to make these. I have already shared a tutorial for making such holders, which can be checked here. I have used acrylic paints and on the edges I used golden acrylic paint.


Next one uses silver acrylic paint on the edges.


The next one uses metallic acrylic paints.


The next ones also use acrylic paints. I made these as party favours. 


Next is a variation of floral tealight holder. I used air dry clay to make these. I used metallic acrylic paints for petals and spray painted gold for the inside.
  

I hope you liked this post. And do try making them. 

Clay Diyas

Thursday, September 28, 2017

Hello folks!

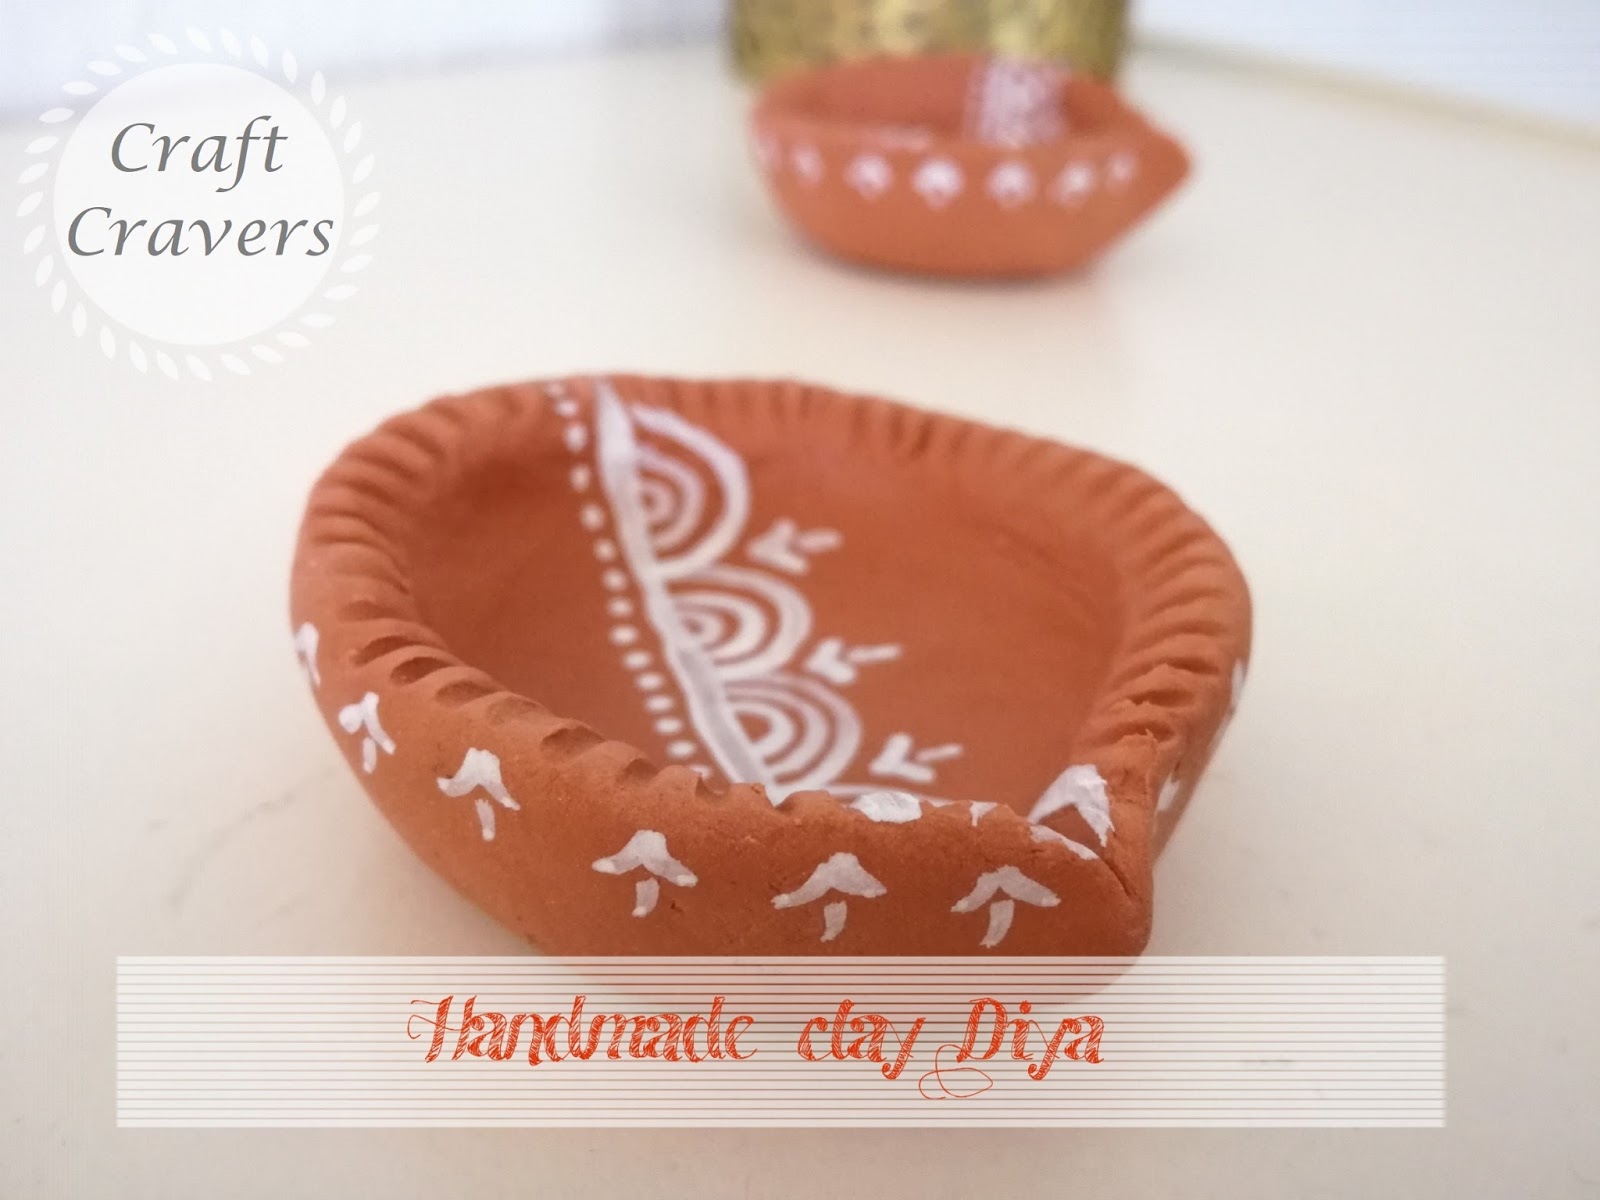
The festive season is upon us. And am very excited about my favorite festival....and you guess it right. Its DIWALI 😁. Staying away from our homeland really creates a void in our heart during festivals. Its like a silent longing for me ....missing home and family. Its not that other days there is no such feeling...its just that it peaks during festivals. This year am going to celebrate with a festive spirit, imagining how wonderful it would be to spend this time with family and recollecting all the beautiful memories. Lighting Diya was one of my favorite activities. In this blog I have shared some of my handmade clay Diyas.  I have used air dry clay both terracotta and white. Enjoy !


 I dedicate this blog to all those who are missing their home and family. Happy Diwali !! 😃

Peacock mixed media art

Tuesday, June 27, 2017

Hello readers 😃!

Today I want to share how I made a mixed media canvas using modeling clay. This one is variation of a canvas I made called Clay floral design on canvas. I made a black background on the canvas using acrylic paints. To get an even distribution, I  gave the canvas several coats of black by letting each coat dry.


I wanted a different texture and design for background. This time I experimented with bubble wrap 😊. I painted the bubble wrap with blue acrylic paint and stamped it onto the canvas at several places.


Similarly I added more colours using the bubble wrap on the canvas.


After being satisfied with the background, I sketched a peacock with paisley patterned feathers using a pencil.


Now to give boundaries I rolled modeling clay into thin string and glued it onto the canvas.


And going further...


And done with the clay boundaries 😊. Now let the glue and clay dry.


Now I painted the bird with silver acrylic paint. Painted the branches with metallic green. And for flowers, I used metallic  blue, violet and peach.


Next, I used metallic gel pens to draw the patterns in the paisleys.


And done 😃!!


Five more clay candle holders

Monday, March 6, 2017

Hello everybody 😃 !!

Here are some more candle holders I made using modeling clay. 

Design 1:

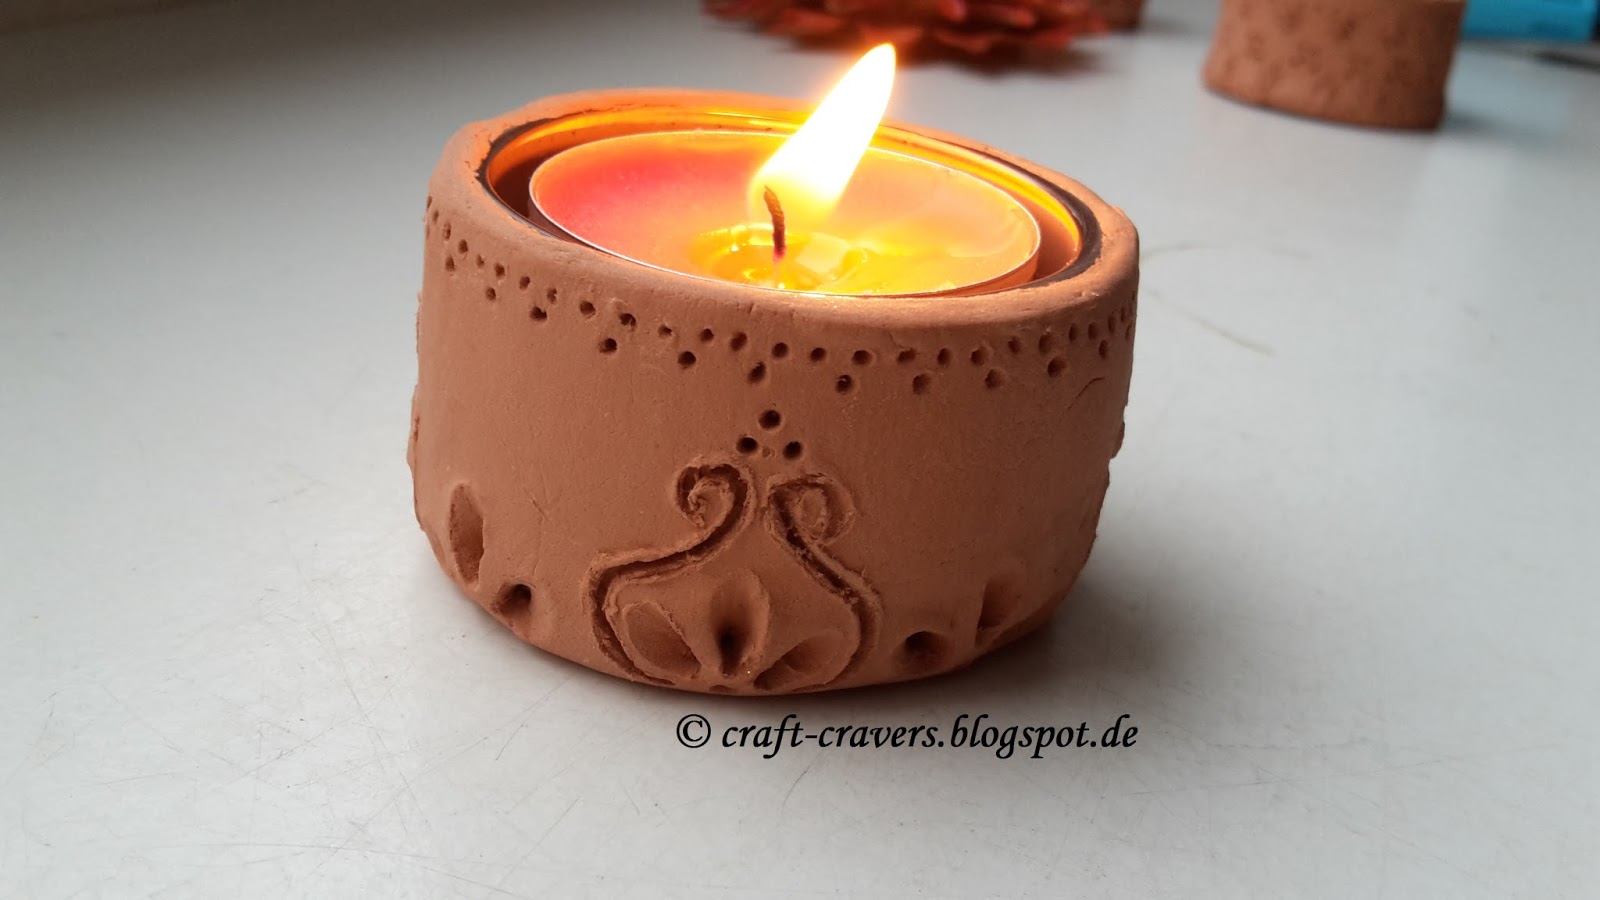
For this holder, I used a small glass holder, modeling clay and some tools to make dots and carve.


I started by rolling clay into a thick sheet and wrapped it around the glass holder. And I cut a circle into the clay sheet for covering the bottom of the holder. Then I smoothed out the edges.


Now I started making designs into the holder.


Once finished, I let it dry. Now it can be even painted.


~~~~~~~~~~~~~~~~~~~~~~~~~~~~~~~~~~~~***~~~~~~~~~~~~~~~~~~~~~~~~~~~~~~~~~~

Design 2:

The second variety includes heart design carved out of it. Similar to the above holder, I rolled a thick sheet of clay. I cut a circle out of it for the base. Then I cut wide band of clay out of the sheet similar to a wide ribbon. On the band now, I cut out shapes of heart. I have not used any stamps/punches for making hearts, I just used free hand style and cut them using a small knife. Then I attached the band onto the circular base using some drops of water. For the band to stay intact, the band has to be pretty thick. Otherwise thin bands will fall off and we have to constantly hold it in place, or use something for making it stand.


Once done, let it dry and done 😊


~~~~~~~~~~~~~~~~~~~~~~~~~~~~~~~~***~~~~~~~~~~~~~~~~~~~~~~~~~~~~~~~~

Design 3:

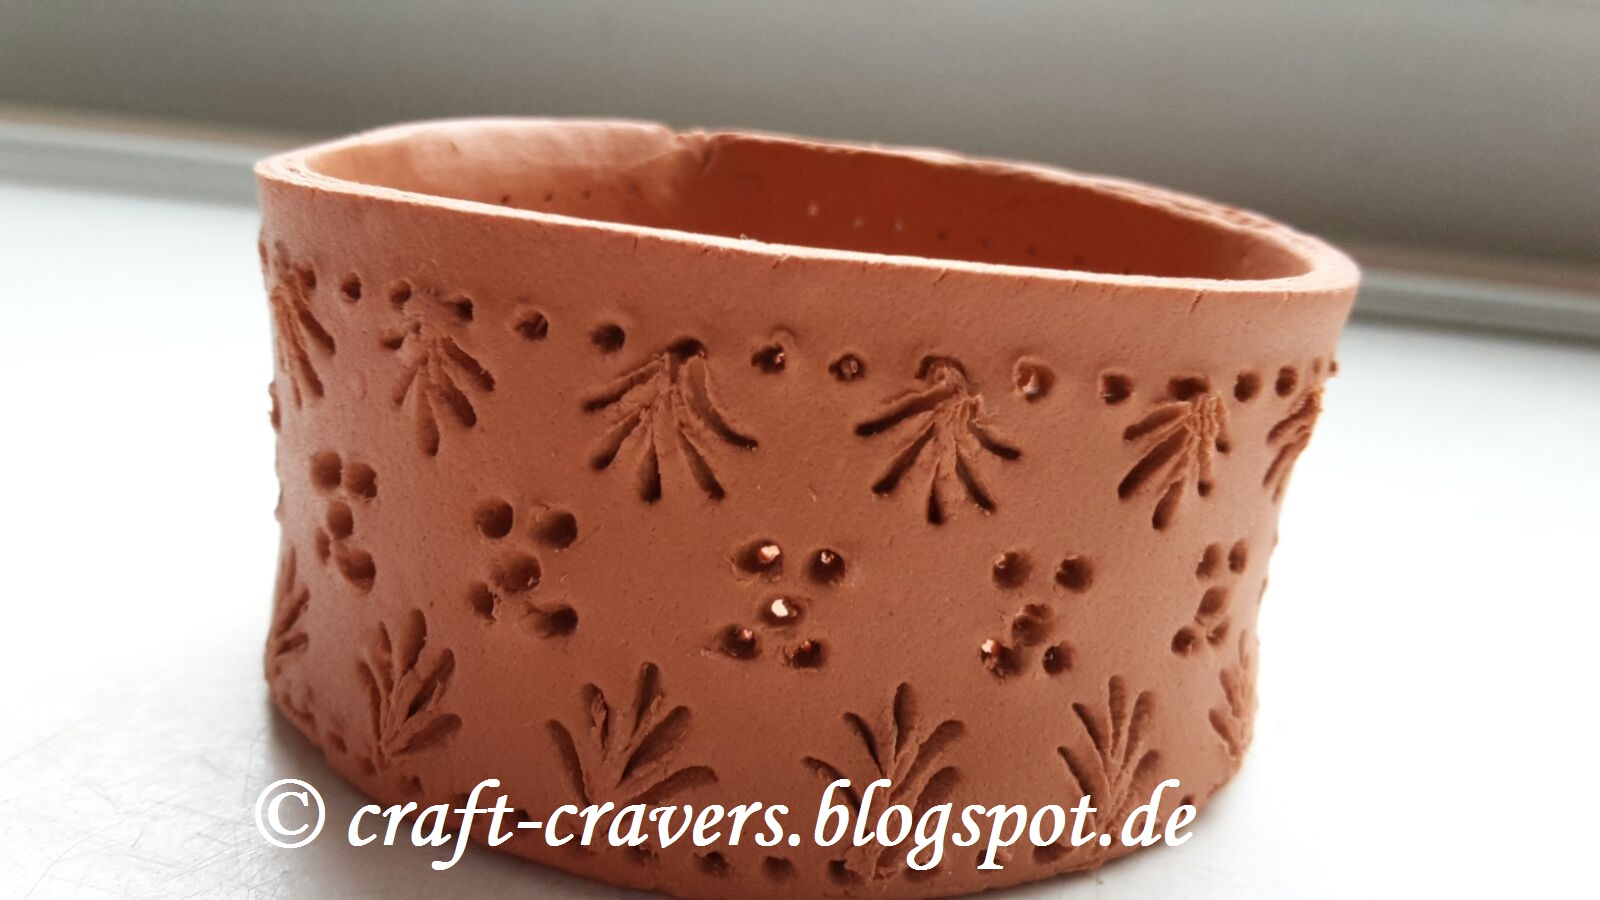
This is the similar holder as above. I have used toothpicks for making holes.


~~~~~~~~~~~~~~~~~~~~~~~~~~~~~~~~~~~***~~~~~~~~~~~~~~~~~~~~~~~~~~~~~~~~


Design 4:

Only difference in this design is I have made semi circular shapes on the top. And added thin string at the neck.


~~~~~~~~~~~~~~~~~~~~~~~~~~~~~~***~~~~~~~~~~~~~~~~~~~~~~~~~~~~~~~~~~

Design 5:

Here I have tried something different. As usual, I made circular base. I made some balls and thick strings out of clay. I had some wire which I cut in small equal parts. I stuck these wires around the circular base at equal intervals. Next, I pressed one of the strings onto the wires such that it pierces out of the string. Now I pierced the balls onto the wires and so on.   


FREE BLOGGER TEMPLATE BY DESIGNER BLOGS